The holiday season is synonymous with joy, love, and delicious treats. One iconic character that has become synonymous with Christmas is the Grinch. This holiday season, why not add a touch of whimsy to your festivities with a delightful treat – Grinch Nutter Butters! These easy-to-make cookies not only capture the essence of the season but also bring a smile to everyone’s face. In this article, we’ll take you through a step-by-step guide on creating these festive delights that are sure to become a hit at your Christmas gatherings.
The Origin of Nutter Butters
Before we dive into the Grinchy goodness, let’s take a moment to appreciate the classic Nutter Butter cookie. Introduced in 1969 by Nabisco, Nutter Butters quickly became a beloved snack for peanut butter enthusiasts. Their distinctive peanut-shaped design and the perfect balance of sweet and nutty flavors made them a staple in many households.
Ingredients:
To embark on our Grinchy adventure, gather the following ingredients:
- Nutter Butter cookies (store-bought or homemade)
- Green candy melts
- Red heart-shaped sprinkles
- Edible candy eyes
- Red heart-shaped candies (for the Grinch’s heart)
- White chocolate chips (for the Grinch’s fur)
- Wax paper
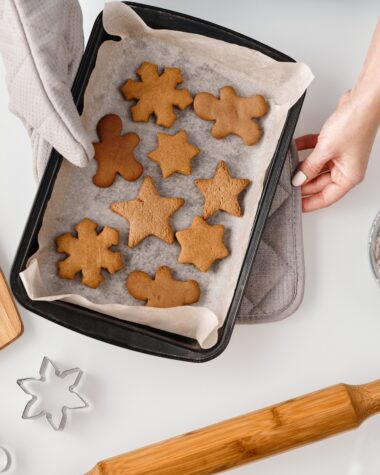
Step 1: Prepare the Nutter Butter Base
If you’ve decided to make your Nutter Butters from scratch, follow your favorite peanut butter cookie recipe. However, for a quick and easy option, store-bought Nutter Butters work perfectly as the base for our Grinchy transformation.
Step 2: Melt the Green Candy Coating
Melt the green candy melts in a microwave-safe bowl according to the package instructions. Stir until smooth and creamy. The vibrant green color will be the key to giving our Grinch Nutter Butters their festive appearance.
Step 3: Dip the Nutter Butters
Using a fork or dipping tool, immerse each Nutter Butter into the melted green candy coating, ensuring it’s fully covered. Allow any excess coating to drip off, and then place the coated cookie on wax paper.
Step 4: Add the Heart
While the green coating is still wet, carefully place a red heart-shaped candy at the center of each Nutter Butter. This represents the Grinch’s heart, adding a touch of sweetness to our mischievous character.
Step 5: Create the Grinch’s Face
Now, it’s time to bring the Grinch to life! Using the white chocolate chips, carefully position them around the top edge of the Nutter Butter to resemble the Grinch’s fur. This step requires a bit of precision, but the result is a whimsical and recognizable face.
Step 6: Attach the Eyes
Dab a small amount of the melted green candy coating on the back of the edible candy eyes and gently press them onto the Nutter Butter, just above the white chocolate chip fur. The eyes are a crucial element in capturing the mischievous and endearing expression of the Grinch.
Step 7: Accentuate with a Smile
Using a toothpick or a thin utensil, create a small smile for the Grinch beneath the eyes. This adds a touch of personality to our festive character.
Step 8: Allow to Set
Place the Grinch Nutter Butters in the refrigerator for about 15-20 minutes to allow the candy coating to set and harden. This step ensures that your creations maintain their shape and are ready to be enjoyed.
Also Read: Palmer’s Chocolate Valentine’s Day Foodie Gift Guide
Conclusion
As you gaze upon your delightful Grinch Nutter Butters, you’ll be filled with the holiday spirit and a sense of accomplishment. These charming treats are not only visually appealing but also delicious, combining the classic taste of Nutter Butters with a festive twist. Share them with friends and family during Christmas gatherings, or wrap them up as adorable edible gifts. The magic of Christmas comes alive in these Grinch-inspired cookies, making them a memorable addition to your holiday traditions. So, gather your ingredients, channel your inner Grinch, and let the joyous baking begin!