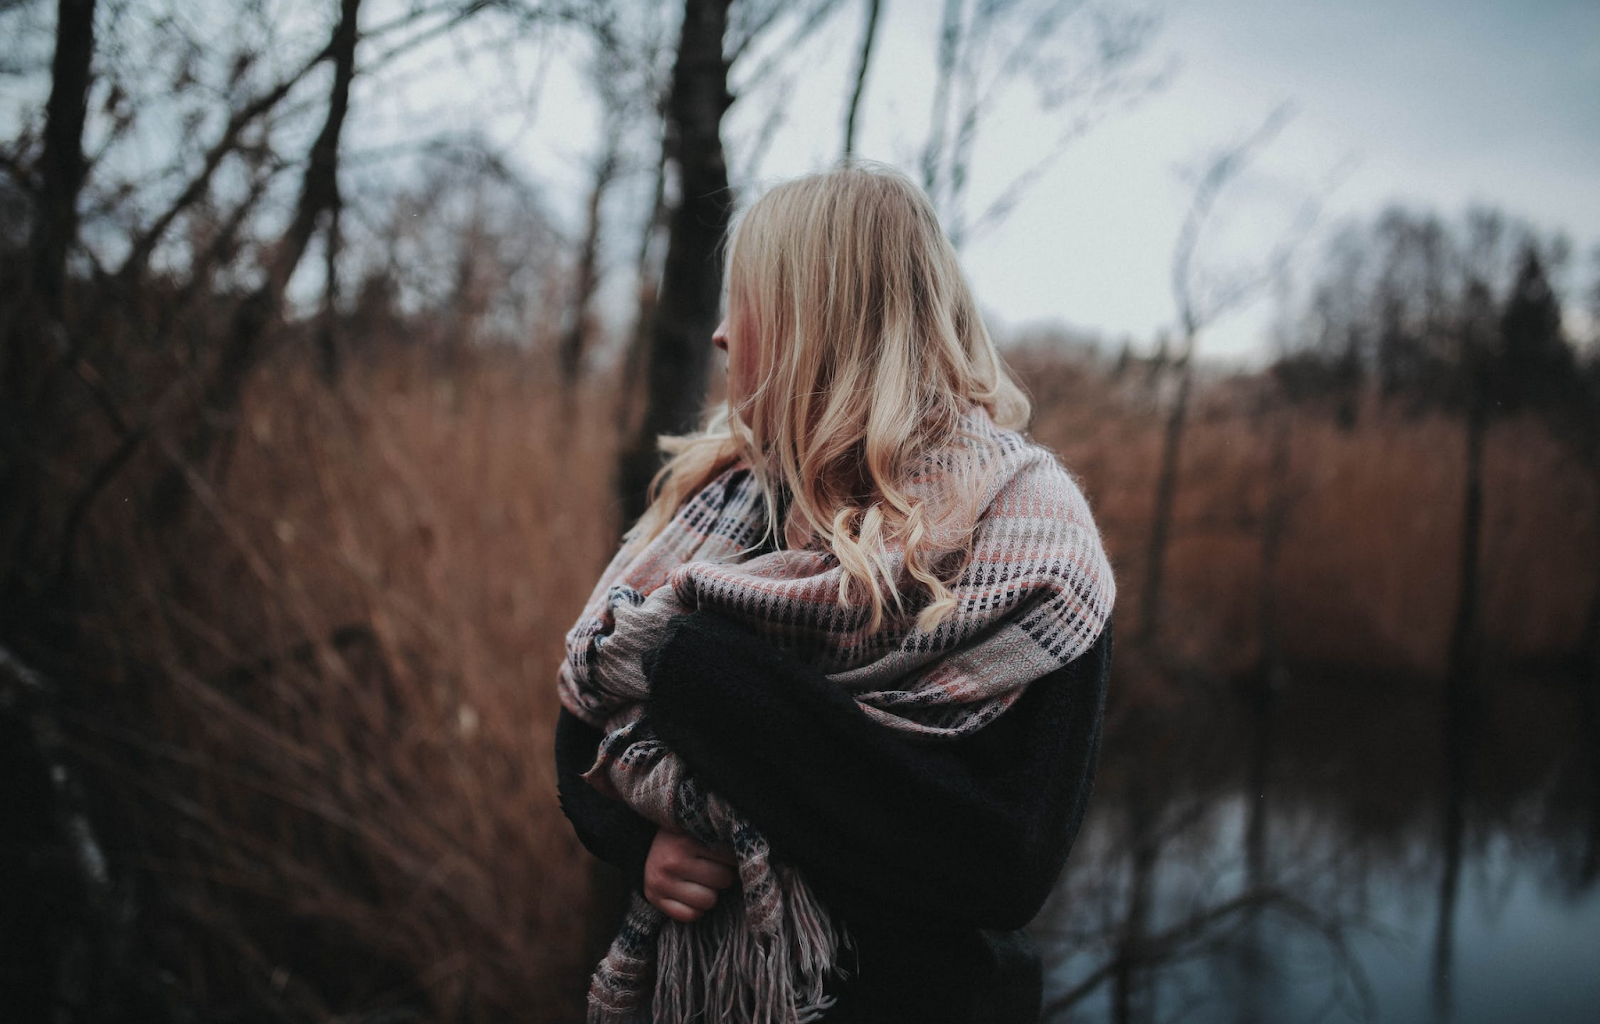
As the leaves change color and the air turns crisp, there’s nothing quite like wrapping yourself in a warm, chunky scarf to ward off the chill of autumn and winter. While scarves are readily available in stores, there’s something special about creating your own chunky woven scarf. Not only does it allow you to tailor the design, colors, and textures to your liking, but it also provides a sense of accomplishment and warmth beyond the cozy embrace of the scarf itself.
In this comprehensive tutorial, we’ll guide you through the process of crafting a beautiful chunky woven scarf from scratch. Whether you’re a seasoned crafter or a complete beginner, this project will help you create a stylish accessory that’s perfect for personal use or gifting to loved ones.
Materials You’ll Need
Before we dive into the tutorial, let’s gather all the necessary materials to create your chunky woven scarf. The beauty of this project is that it doesn’t require a long list of supplies, making it accessible and affordable for everyone.
Here’s what you’ll need:
1. Yarn: Opt for a chunky yarn of your choice in colors that suit your style. Chunky yarns are thicker and create a warm, cozy fabric. You’ll need approximately 400-500 grams (14-18 ounces) of yarn for an average-sized scarf.
2. Knitting Needles: Choose knitting needles that are appropriate for your yarn. For most chunky yarns, size 10-15 US (6-10 mm) needles work well.
3. Scissors: A pair of sharp scissors to cut the yarn as needed during the project.
4. Tapestry Needle: A large tapestry needle will come in handy for weaving in loose yarn ends and finishing your scarf.
5. Measuring Tape: A measuring tape or ruler will help you keep track of your scarf’s dimensions.
6. Optional: A stitch marker can be helpful if you’re a beginner to keep track of your progress.
Now that you have your materials ready, let’s move on to the step-by-step tutorial on how to create a beautiful chunky woven scarf.
Step 1: Choose Your Yarn and Knitting Needles
Begin by selecting the yarn and knitting needles for your project. Consider the color, texture, and warmth you desire in your scarf. Chunky yarn comes in a variety of fibers, including wool, acrylic, alpaca, and more, so choose the one that suits your preferences.
Next, select the knitting needles appropriate for your chosen yarn. Check the yarn’s label for recommended needle sizes, or refer to the manufacturer’s instructions. The needles should allow for a loose, cozy weave without being too tight.
Step 2: Cast On Stitches
To start your scarf, you’ll need to cast on stitches. The number of stitches you cast on will determine the width of your scarf. A typical width for a chunky scarf is around 6-8 inches (15-20 cm). However, you can adjust the width to your liking. Here’s how to cast on stitches:
1. Create a slipknot by making a loop with the yarn.
2. Insert one of your knitting needles into the loop, leaving a tail of yarn.
3. Pull the yarn to tighten the loop on the needle.
4. Hold the needle with the slipknot in your dominant hand and the other needle in your non-dominant hand.
5. Insert the non-dominant needle into the slipknot from left to right, passing behind the dominant needle.
6. Wrap the yarn around the non-dominant needle from back to front, creating a loop around it.
7. Pull the loop through the slipknot, creating a new stitch on the non-dominant needle.
8. Slide the new stitch onto the dominant needle, and you’ve cast on one stitch.
9. Repeat steps 5-8 to cast on the desired number of stitches.
As you cast on, make sure not to make the stitches too tight or too loose. Your scarf’s width will depend on the number of stitches you cast on, so adjust it accordingly.
Step 3: Knit Your Scarf
Now that you have your stitches cast on, it’s time to start knitting your scarf. In this tutorial, we’ll use the garter stitch, a simple and effective knitting pattern for beginners. The garter stitch creates a fabric with a uniform texture on both sides of your scarf.
Here’s how to knit in the garter stitch:
1. Hold your knitting needles with the cast-on stitches in your dominant hand.
2. Insert your non-dominant needle into the first stitch from left to right, bringing it behind the dominant needle.
3. Wrap the yarn around the non-dominant needle from back to front.
4. Pull the loop through the first stitch, creating a new stitch on the non-dominant needle.
5. Slide the new stitch onto the dominant needle, and the old stitch falls off.
6. Repeat steps 2-5 for each stitch until you reach the end of the row.
7. Turn your work, so the needle with the finished row is now in your non-dominant hand.
8. Continue knitting each row in the same manner until your scarf reaches the desired length.
Remember to keep your tension consistent and to count your rows to maintain an even length throughout your scarf.
Step 4: Create Stripes or Patterns
One of the creative aspects of crafting your chunky woven scarf is the ability to add stripes or patterns. To create stripes, simply change to a different color of yarn when you begin a new section. You can also experiment with various stitch patterns to add texture to your scarf.
If you’re a beginner, try using a contrasting color of yarn for a few rows to create a simple stripe. More advanced knitters can explore various patterns like ribbing, seed stitch, or cables.
Step 5: Bind Off Stitches
Once your scarf reaches the desired length, it’s time to bind off your stitches to secure the ends. Here’s how to bind off:
1. Knit the first two stitches in your row.
2. Using your non-dominant needle, lift the first stitch you knitted over the second stitch and off the needle.
3. Continue knitting one more stitch, then lift the first stitch over the second stitch and off the needle again.
4. Repeat this process until you’ve bound off all the stitches except one.
5. Cut the yarn, leaving a tail of about 6-8 inches.
6. Thread the tail through the last remaining stitch and pull it tight.
Your stitches are now bound off, and the end of your scarf is secure.
Step 6: Weave in Loose Ends
To give your scarf a polished finish, you’ll need to weave in any loose ends of yarn. Using a tapestry needle, thread the loose end through the back of your work, concealing it within the fabric. Trim any excess yarn carefully to avoid any unraveling.
Step 7: Block Your Scarf (Optional)
Blocking is an optional step that can enhance the appearance of your scarf by ensuring it lays flat and evenly. To block your scarf:
1. Fill a basin with lukewarm water.
2. Submerge your scarf in the water and gently agitate it to soak evenly.
3. Remove the scarf and gently squeeze out excess water.
4. Lay the scarf flat on a clean towel.
5. Shape the scarf to the desired dimensions and smooth it out.
6. Allow it to dry naturally, keeping it away from direct sunlight and heat sources.
Blocking can help straighten out any uneven edges or curling that might have occurred during knitting.
Step 8: Enjoy Your Chunky Woven Scarf
Congratulations! You’ve completed your chunky woven scarf, and it’s ready to keep you warm and stylish during the colder months. Wrap it around your neck or drape it over your shoulders, and feel the satisfaction of wearing a handmade creation.
Experiment with Different Variations
As you become more confident in your knitting skills, you can experiment with variations on this basic chunky scarf pattern. Here are a few ideas to get you started:
Fringe: Add fringe to the ends of your scarf for a trendy, boho look. Simply cut lengths of yarn, fold them in half, and use a crochet hook to attach them to the ends of your scarf.
Colorwork: Try your hand at colorwork by knitting patterns or images into your scarf using different yarn colors. Fair Isle and intarsia techniques allow you to create intricate designs.
Cowl: Instead of knitting a long scarf, you can knit a shorter, wider piece to create a cozy cowl that can be worn around your neck like a collar.
Infinity Scarf: Make a stylish infinity scarf by sewing the ends of your scarf together, creating a loop that can be wrapped around your neck.
Also Read: How to Build a DIY Dollhouse
Conclusion
Crafting a chunky woven scarf is a gratifying project that not only results in a beautiful and functional accessory but also allows you to express your creativity. Whether you’re knitting for yourself or creating a heartfelt gift for someone else, the process of selecting materials, working with your hands, and seeing a project through to completion is deeply rewarding.
So, grab your yarn and knitting needles, and get started on your very own chunky woven scarf. As you create each stitch, you’ll be reminded of the warmth and comfort that homemade items bring to your life, especially during the colder seasons. Happy knitting, and stay cozy!
